I don’t know about you but I have been baking a LOT since this whole COVID thing started. I like to use the ingredients I have on hand, I put in my ear buds, start up a book and putz around in the kitchen for an hour. That’s what I did on Friday anyway. I had the day off work and thought this Blueberry-Buttermilk Bundt cake sounded great for breakfast the next day. I’ve been making this particular cake for about 17 years. I know, right? It’s a tried and true, delicious cake. I found the recipe in Bon Appetit magazine in 2004 and have been making it ever since. I prefer it for breakfast since it has the consistency of a muffin, but really any time of day is great!
What I really like about this recipe is that I usually have everything on hand. Frozen blueberries, an orange, and the buttermilk are the standouts in this cake. The orange is zested into the creamed sugar mixture and really adds a nice orangey punch to the blueberry flavor. They only ingredient I may not have on hand is the buttermilk. This time I did, but usually I just make it myself by adding a TBSP of white vinegar to a cup of milk. It’s that easy!
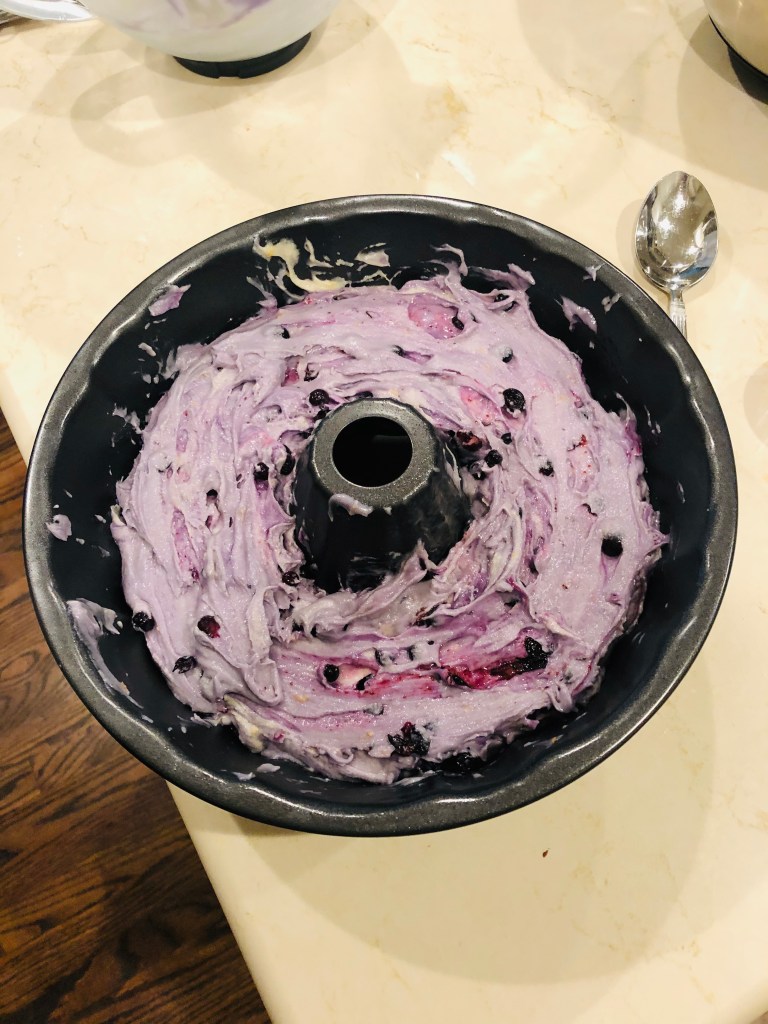
After you mix your flour, baking soda, and salt set it aside to cream your butter, sugar, orange zest, eggs, and vanilla. Now, blend in your flour alternating it with the buttermilk. Once that’s all mixed together you add in your frozen blueberries and vôilá! You have a nicely shaded purple batter. That color mostly cooks out, which is a shame because it’s really pretty in the pan.
I was going to save this cake for breakfast on Saturday but my sister came downstairs upset over a friend quitting at work and you know what? A piece of cake is just the thing to make you feel better. Shhh. No lectures, please! Anyway, she got that first slice and you know how that goes…. once the cake is cut it’s open season for taking a slice!
I finished it off with a nice sugary glaze made with some ground up caster sugar and the juice from the orange (zest) I used in the cake. It tastes just as good as it looks, promise!
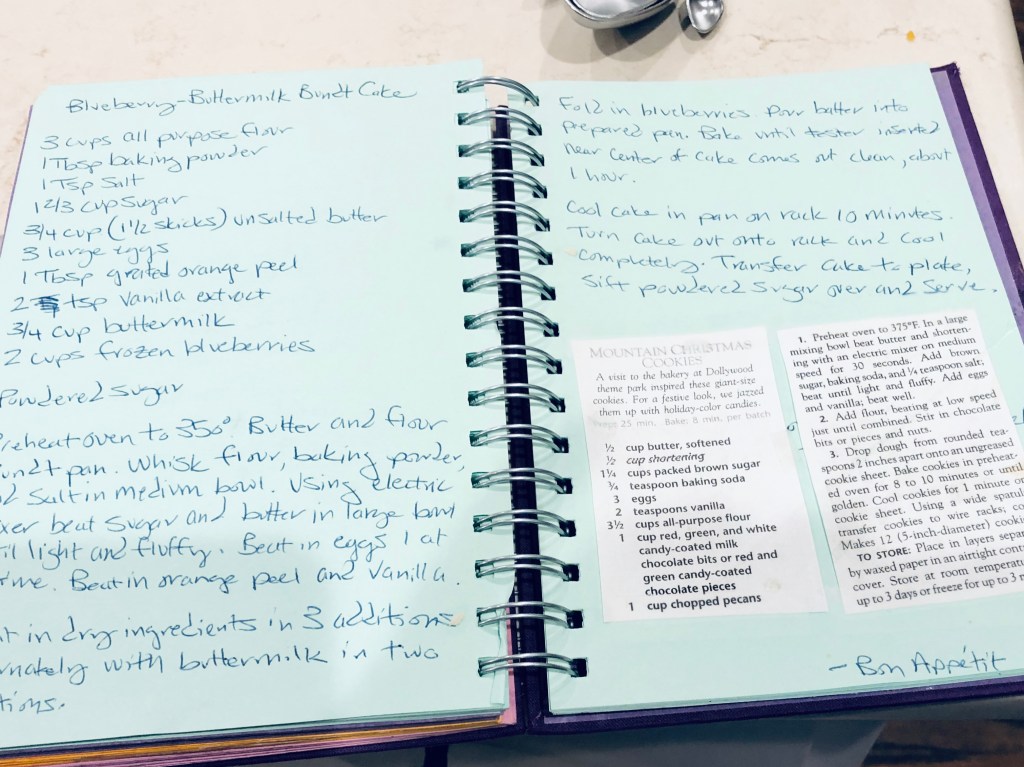
I have this little series of books that I write and tape recipe’s into if I’ve found one in a magazine, on Pinterest, or one given to me by a friend. I’ve been collecting recipe’s in these books for years. As you can see below. If you blow up the picture, maybe you can make this one yourself! Maybe not, my handwritings a mess. I’ve looked up the link for you just in case you’d like to try it yourself.
It’s been a little while since my last baking post because, well, it’s been awhile since I’ve wanted to tackle some French pastry recipe’s. I love to bake but sometimes these recipe’s are so involved that I’m in the kitchen for hours. By the end of it I’m tired, cranky, and unappreciative of all my hard work. So, cracking open the Bouchon Bakery cookbook, I decided to skip around until I found a relatively easy recipe. I settled on the Financier.
First, let’s talk about this name. In the south we’d probably pronounce this the Finance-yer, but I think in French it’s a little fancier and is probably the Fee-nance-e-ay. I felt silly, even though I took french classes in high school, so I’ve settled on the a mix of the two, Fi-nance-e-er. Couldn’t tell you if that’s the proper way to pronounce this dish, but it’s the easiest! Or you can also call these cakes Petit Fours. We all know what those are.
Now, the Financier is one of the simpler recipe’s so I decided I’d make the original and the chocolate. I gathered my ingredients of flour, sugar, almond flour, eggs, butter and for the chocolate, cocoa powder.
I, of course, forgot to take pictures of the original batch, but here’s the dry ingredients as I’m sifting the cocoa powder into them.
The secret to the financier, is the brown butter ingredient. Now, since I didn’t not have linen on hand to separate my cooked ingredients, I browned my butter and added them into the dry ingredients, as noted in the recipe. In the original financier, the browned butter really brings out the nutty taste of the almond meal. In the chocolate recipe it adds to the cocoa and dark chocolate to make a very dark chocolate brownie-like taste. Both were rather good!
Before putting the batter in the pans I did use butter on the pans, and then froze them briefly. I think this is to help the cake come out of the pan easier. They did seem to pop out, so I think that’s a job well done!
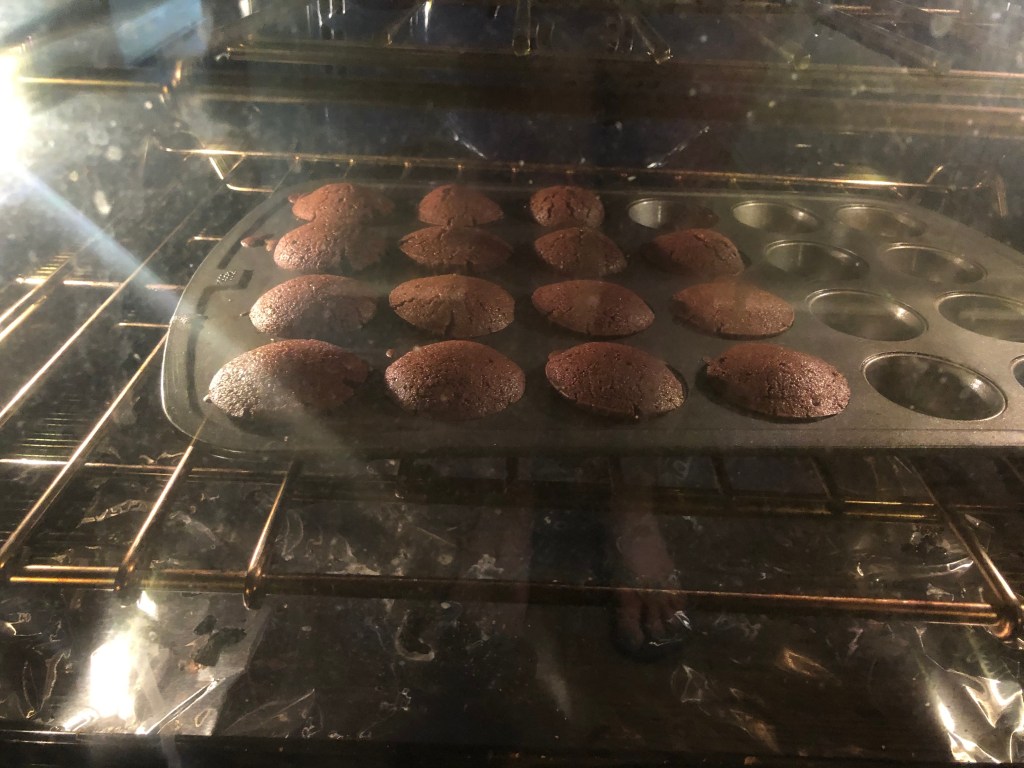
The original financier is put into an individual brownie pan, and the chocolate financier into a mini muffin mold. I do not know if this is a traditional shape for each flavor, but since I did have the two pans, I did as the recipe suggested.
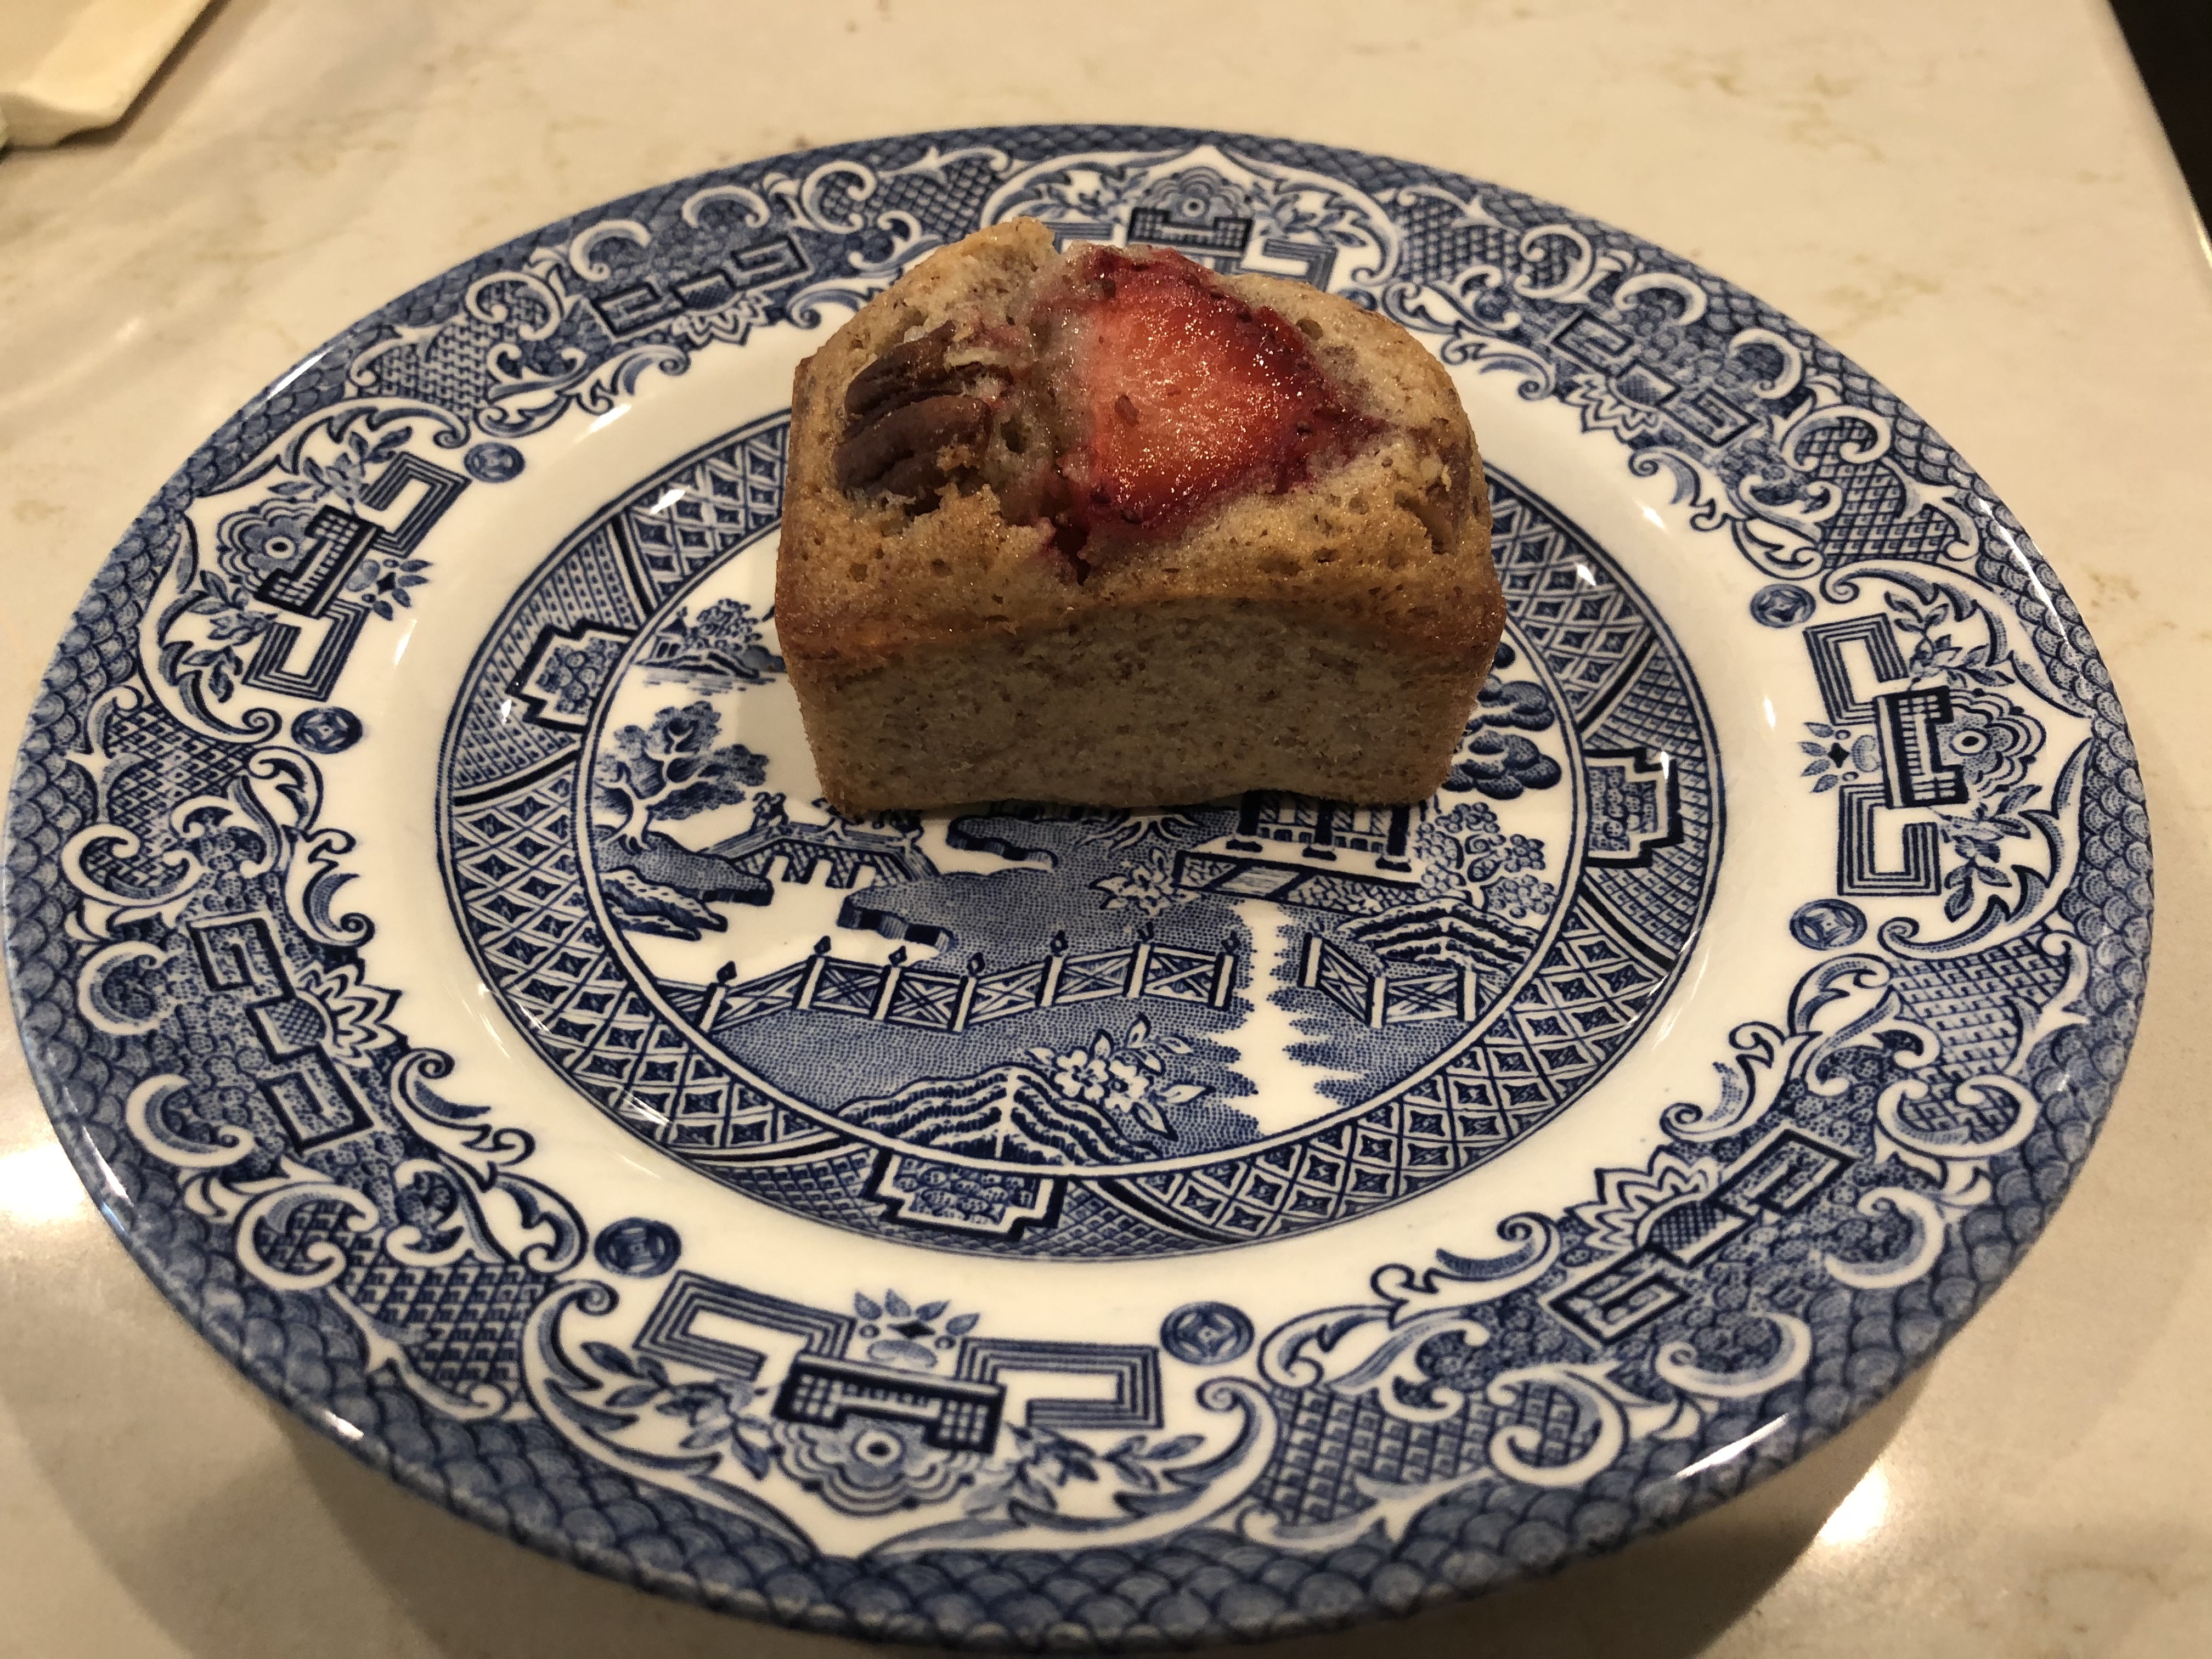
There was a note on the recipe about adding in nuts or fruit to the original financier and so I added a cut strawberry and a couple of pecan pieces. Looks pretty!
When they are done, you immediately take them out of the pan and let them cool on a rack. After eating one, I decided this was done to keep the edges crisp and the cake chewy. It’s a unique flavor, not really sweet at all. As I took my second bite of the original it tasted better than the first and by the time I finished I was a fan. The chocolate was a little more bitter than I like so I think I would add a little more sugar than the recipe calls for, but you know us Americans, we like our desserts sweet! The French have a much more delicate palate.
They were tastier than my pictures lead you to believe, promise!
I didn’t spend any additional dollars on the financier recipe as I had all of the ingredients on hand from past Bouchon recipe’s. Would I make these again? If I lived in England where afternoon tea was a thing, then yes. Here in Nashville? I’d take a cupcake over these financier’s any day, but I am glad for the experience of having made them.
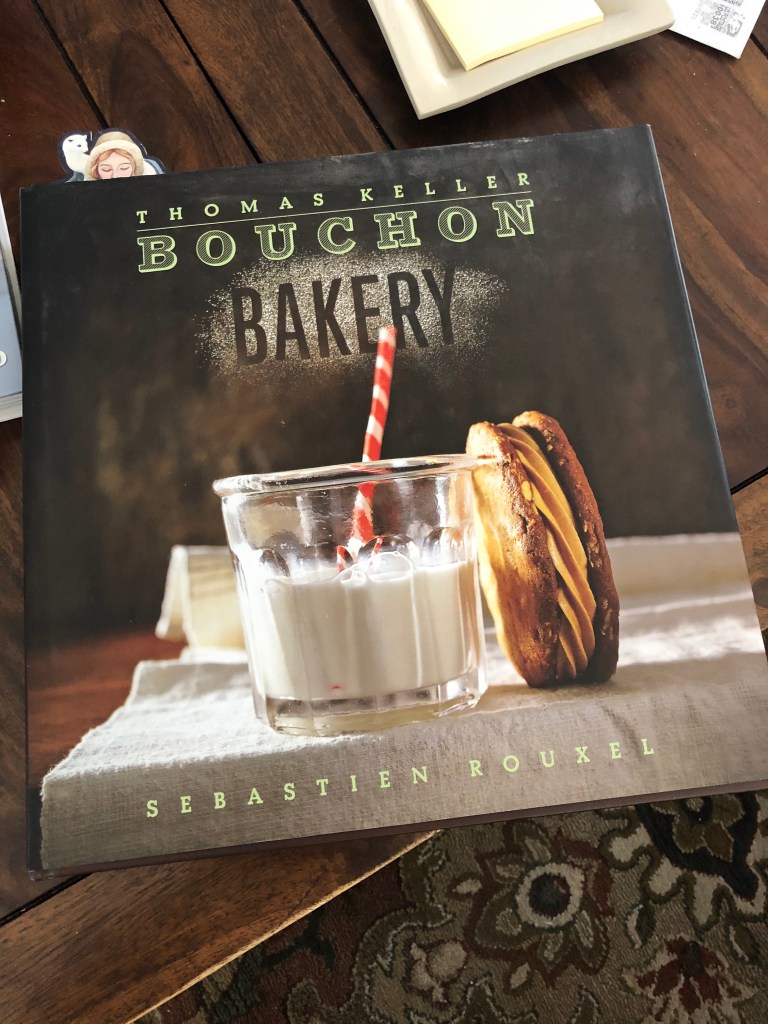
This is the cookbook I’m using for my Bouchon Bakery baking extravaganza. It’s beautiful, so check it out sometime!
This week I went back to the Tart chapter. Why did I break from my scheduled plan of taking on one recipe per chapter? When I made the Paté Sucrée crust for the Caramel Nut Tart (read that post here) it said the dough was only good frozen for one month, so since then I’ve been gathering all of the ingredients for this tart. Remember, when I priced all of the ingredients out for this tart on Amazon it would cost $133.00? I ended up substituting a few things and got that cost down to about $80.00, but I still spread out the purchases over a few weeks. Last Sunday, I was just over that four week in the freezer mark, got the last ingredient needed, and decided to celebrate “Social Distancing” with my attempt at this Chocolate, Praline, and Cocoa Nib Tart. Seriously, couldn’t they have come up with a shorter title?
I was very excited to have an already prepared Paté Sucrée for my crust because there were quite a few steps to making this tart and that saved a LOT of time. First up, making the praline! I bought, on Amazon this amazing Hazelnut-praline paste. It’s the closest thing I could find to what was called for in this recipe. It doesn’t have any almonds in it, but in order to check this recipe off I needed some sort of paste so I purchased Love’n Bake’s Hazelnut praline paste and OMG. I could eat this with a spoon! I have an intense dislike for hazelnuts, but this stuff? Pure heaven!
Cost: $23.97. Yep. Kind of crazy expensive!
You combine this totally yummy paste with .5 ounces of Valhrona 40% chocolate (cost around $13.00 for ONE bar!), some feuilletine, and a little cocoa butter. What is feuilletine? Good question! As I also, had no idea. According to amazon, it’s a specific kind of cookie crumble. (see pictures below)
Note to self, in future use a much less expensive bar of chocolate for this .5 oz ingredient! Although there’s good news in that I have 95% of the bar left.
Substitution note: I didn’t have cocoa butter in the house and googled cocoa butter substitutions. Google suggested coconut oil, which I had! I didn’t notice any change in how the praline tasted or looked, so if you don’t want the additional cost and have coconut oil, try it!
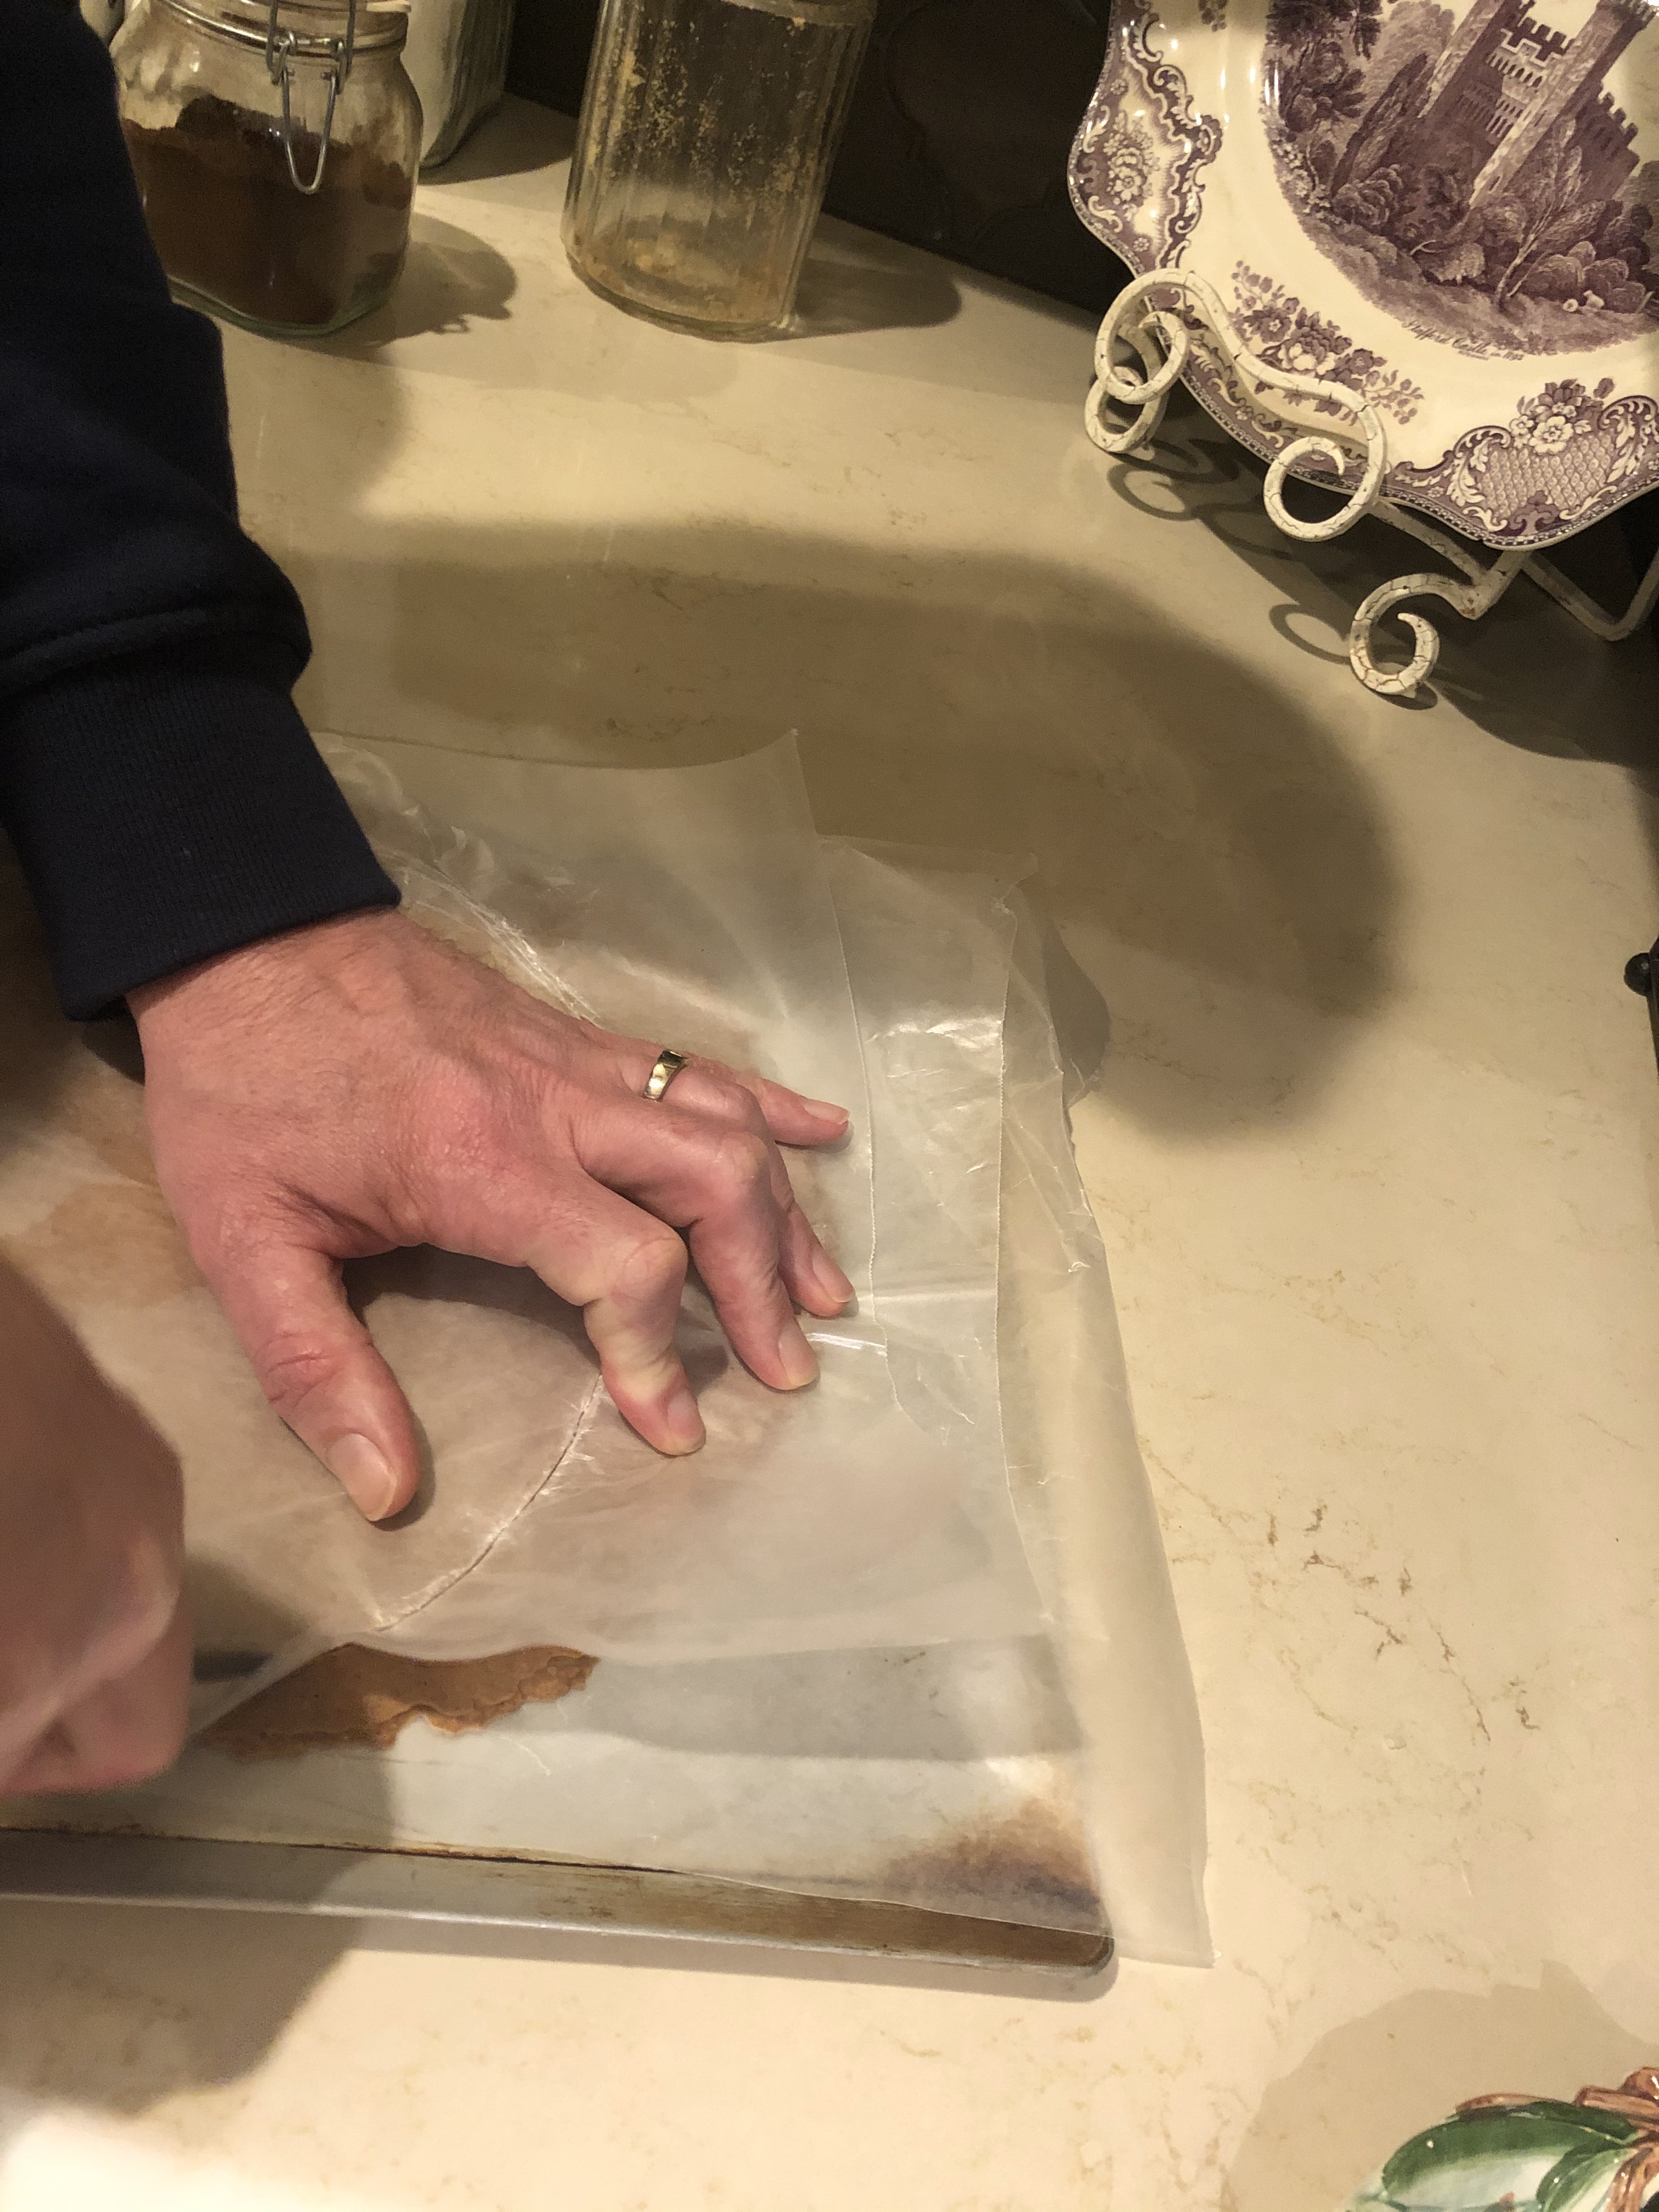
The above pictures of feuilletine are mine on the left and Amazon’s much better photo on the right. Anyway, you mix those ingredients together to get a crunchy paste that kind of reminded me of a brown rice crispy treat and roll it flat and then freeze for four hours. You’ll size this to your tart, cut it into a circle (those are my hubby’s helping hands below) and place it on the top of your crust for your first layer.
My next step is to make a chocolate dentelle. I know you are thinking, what the heck is a chocolate dentelle? Me too! It is a mixture of crushed hazel nuts, cocoa nibs, cocoa, butter, sugar, and a little corn syrup. You mix it together, spread it on a pan and let it bubble and then turn solid. Kind of like one of those lace cookies? It caramelizes and solidifies. This will be my decorative touch on the top of my tart. The extra’s are also a tasty snack as I make my chocolate ganache filling.
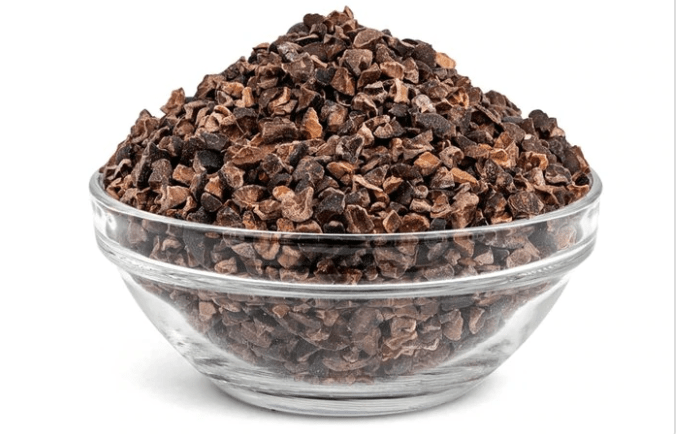
Are you wondering what a cocoa nib is? Yeah, I didn’t know either until I ordered them but cocoa nibs are basically crushed cocoa beans. They taste a little chocolatey but have a very subtle flavor. Think espresso beans. When you eat those they taste like coffee but are chalky and crunchy? Same with cocoa nibs, although they taste like chocolate, not coffee.
Substitution note: I used Hershey’s cocoa powder instead of Valrhona. I’m sure that would’ve cost me a lot more, but I decided to save those dollars and go with what was in the house.
The above is a picture of some cocoa nibs.
The last step is to make a chocolate ganache. At their direction I used 64% chocolate (Valrhona again!), heavy cream, trimoline, glucose, and butter. Thankfully I had glucose left over from the Caramel Nut tart, but had to purchase another $13.00 bar of Valrhona chocolate. (Thank you Sur La Table!)
Substitution note: I didn’t have trimoline on hand, but had purchased caster sugar for another recipe which is similar from what I’ve read so I used the small amount needed in this recipe. Same taste as far as I could tell!
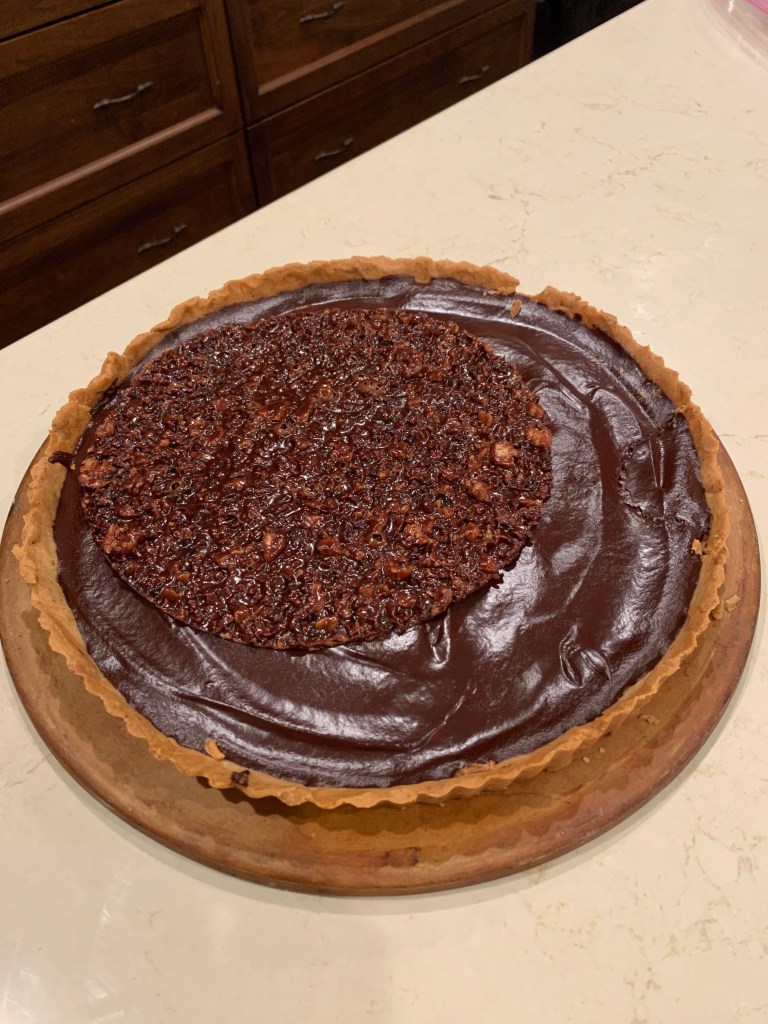
My ganache was silky smooth and….. I forgot to take pictures of it. LOL. However, it looked as it should so I poured it over the praline and let it set for four hours. Just before serving I added the chocolate dentelle and voilá!
The Reading Chick’s Chocolate, Praline, and Cocoa Nib Tart!
It turned out well!
Would I make this one again? No. My family thought it was VERY good, but I don’t like hazelnuts enough to take three hours to make this tart. I’m glad I did make the attempt! Also, as I said with the Caramel Nut Tart, I would definitely make this Paté Sucrée again, it is so yummy! I’d eat it alone, or maybe dunk it in hot fudge sauce or something. OMG.
What did I learn from making the Chocolate, Praline, and Cocoa Nib Tart? A lot actually. I had never made a chocolate dentelle, praline, or a real chocolate ganache that didn’t go over a Boston Cream pie. 🙂
I may end up jumping recipe’s again soon if I can gather all of the ingredients from what’s already in the house. I’m making do with “social distancing” and I hope you all are as well.
How often does a person make Pate A Choux? For this person, it’s when you get to the Pate A Choux chapter in the Bouchon Bakery cookbook. At first, I was pretty excited about making Cream Puffs. I mean, come on, who doesn’t love a great cream puff? I do! At least I did until I tried to make my own. It wasn’t all bad, but boy was this a lot of work for something that, and I quote “are best as soon as they are filled, but can be refrigerated for 1 hour.” Umm, 1 hour?
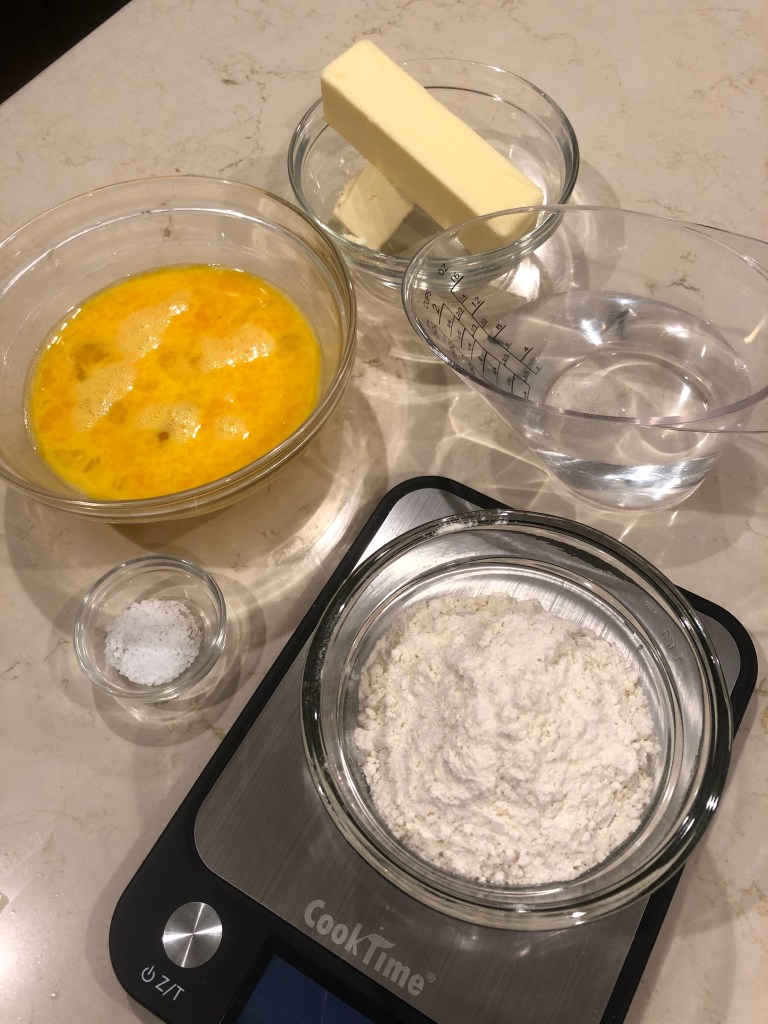
I actually thought making the dough was pretty easy. There are only a few ingredients, flour, water, eggs, butter, salt, and water.
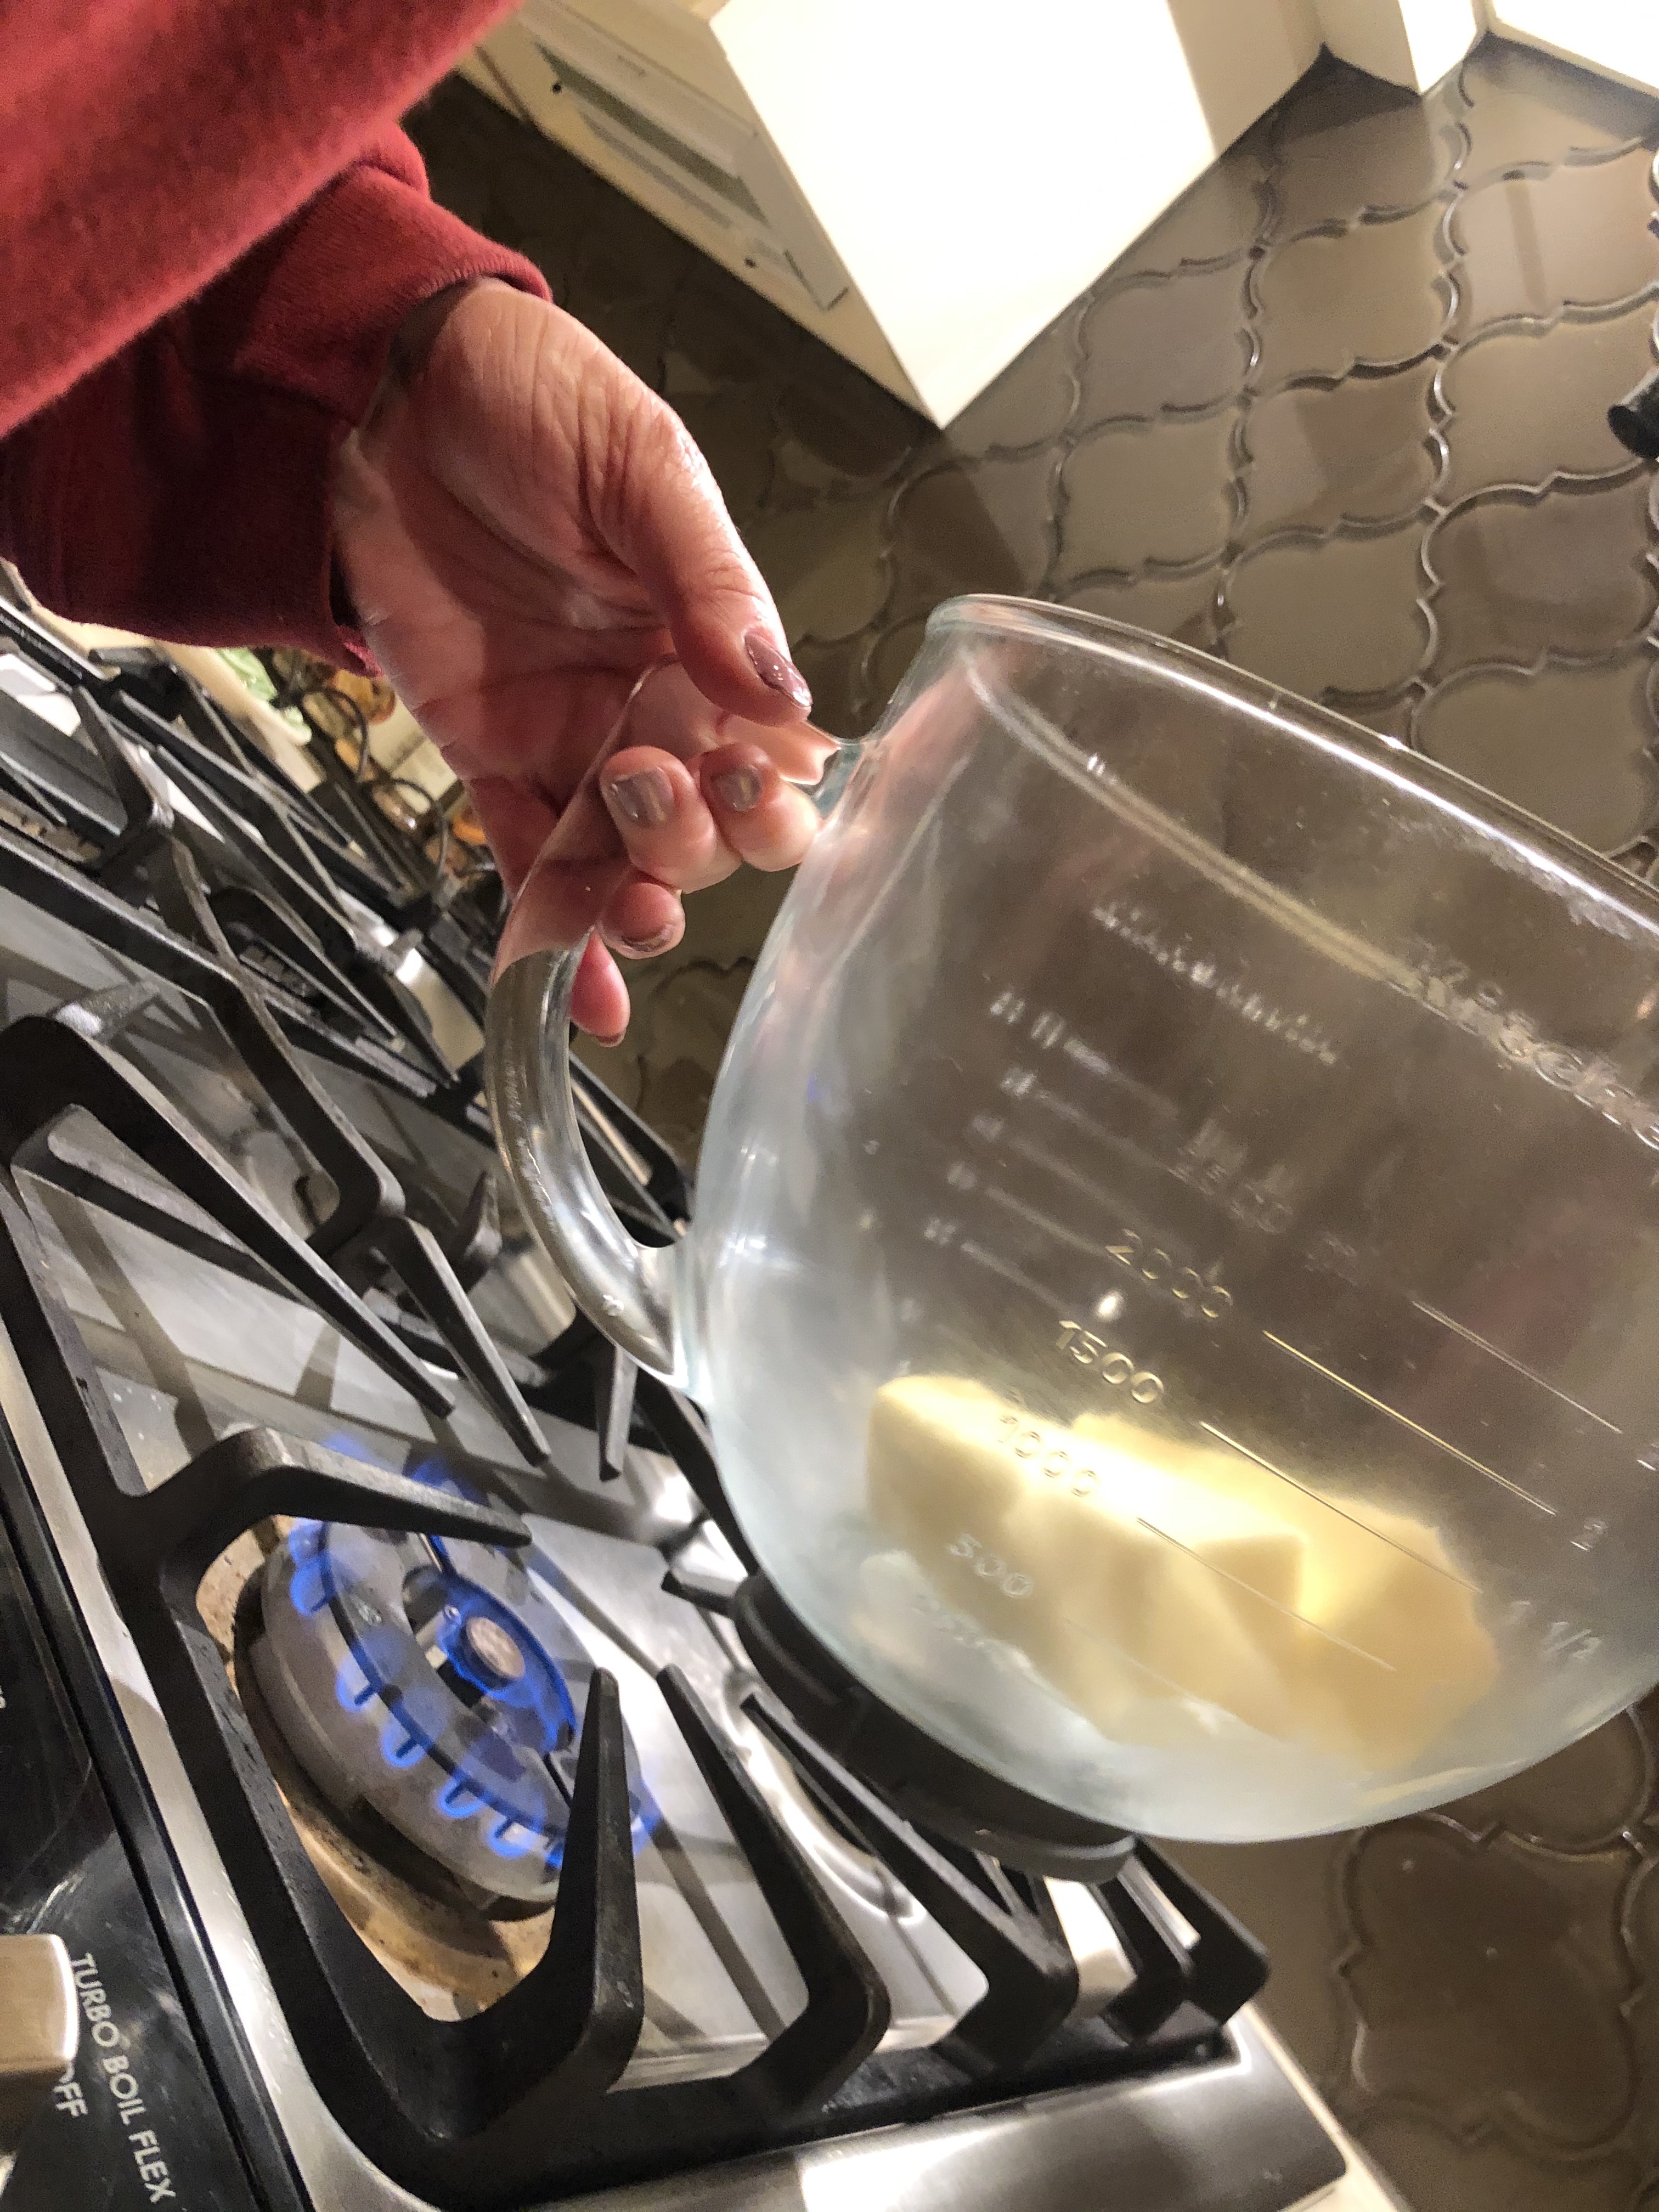
Essentially, you cook the water, butter and salt on the stove until the butter is melted and then add in the flour to create a paste. I’ve seen this done a thousand times on The British Baking Show or a Food Network baking production and thought it seemed pretty simple. In fact, it was. I got it to the correct consistently, threw it into the mixer and started adding the eggs. Having never made this before, I wasn’t too sure what I ended up with was correct, but not knowing for sure, I put the dough in the molds I bought and threw them into the freezer. Yes, this is another recipe where you can take them out one at a time to cook. Too bad I didn’t do that.
First confession! “Transfer the dough to a pastry bag and pipe into the mold.” Yeah, I didn’t do that. I was just so tired! It took much longer than I thought to make the dough, and I was almost positive I did something wrong. I just spooned the dough in. It wasn’t pretty.
I left these in the freezer until the next weekend when I thought I’d conquer the “Cookies for Cream Puffs.” These are not real cookies! they are some kind of crumbly mix of brown sugar, flour, and a very small amount of butter than I was supposed to roll out and then cut into nice round shapes to place on the top of the cream puffs. The idea being to create a crunchy outer layer to contrast nicely with the soft puff.
You can tell from looking at this dough that it was one hot mess. I rolled and froze, rolled and froze, and then just gave up and took the cream puffs out of the freezer, placed them on a pan, put cookie dough bits on top and threw them into the oven.
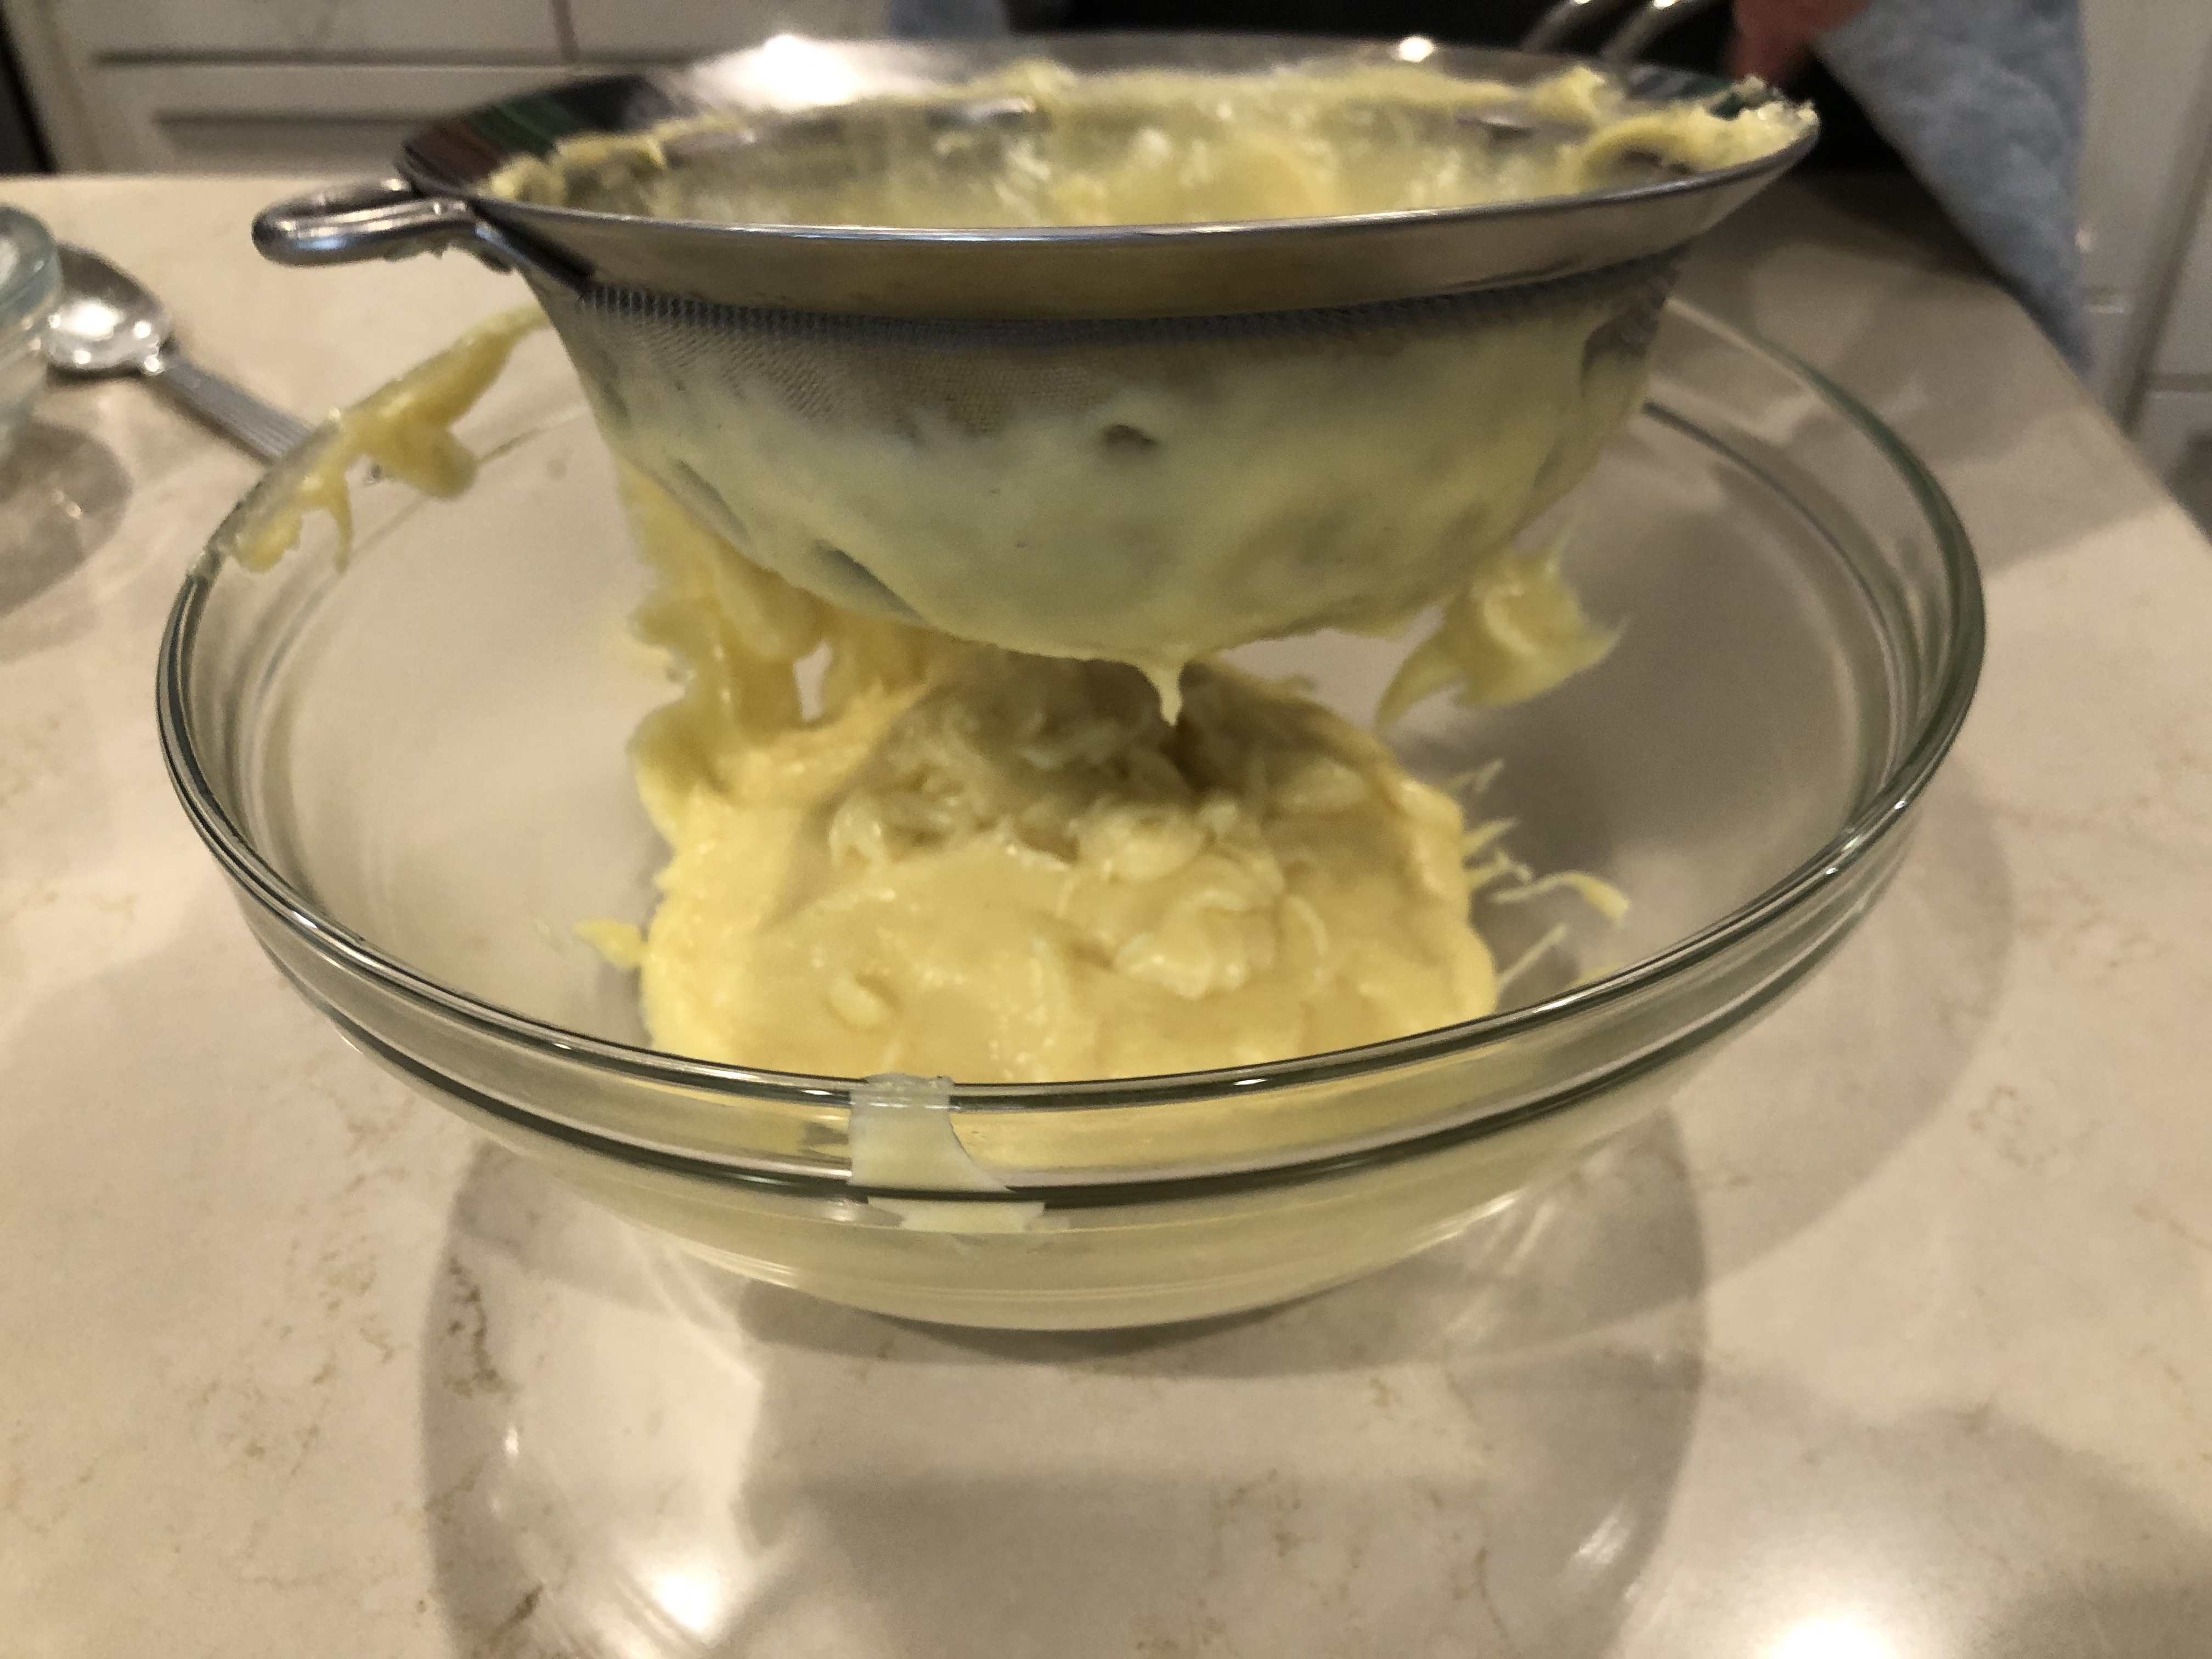
While these were cooking I started making the Pastry Cream. It’s not a Cream Pull without that cream, right? I’ve made pudding’s and custards from scratch before so I actually found this to be a pretty easy process. However- 2nd confession- I was supposed to use whole milk, and we only had 2% milk in the fridge. Guess what? It worked anyway. It may not have been as luscious as if I’d used whole milk, but you can still get a pretty good pastry cream. The hardest part of this process was putting the cream through the sifter to get the chunks out. I got impatient and just ended up dumping it all into the bowl to chill.
This time I did actually use the pastry bag and you know what? No longer afraid of it. I found these reusable bags that you can wash out and it was really quite easy!
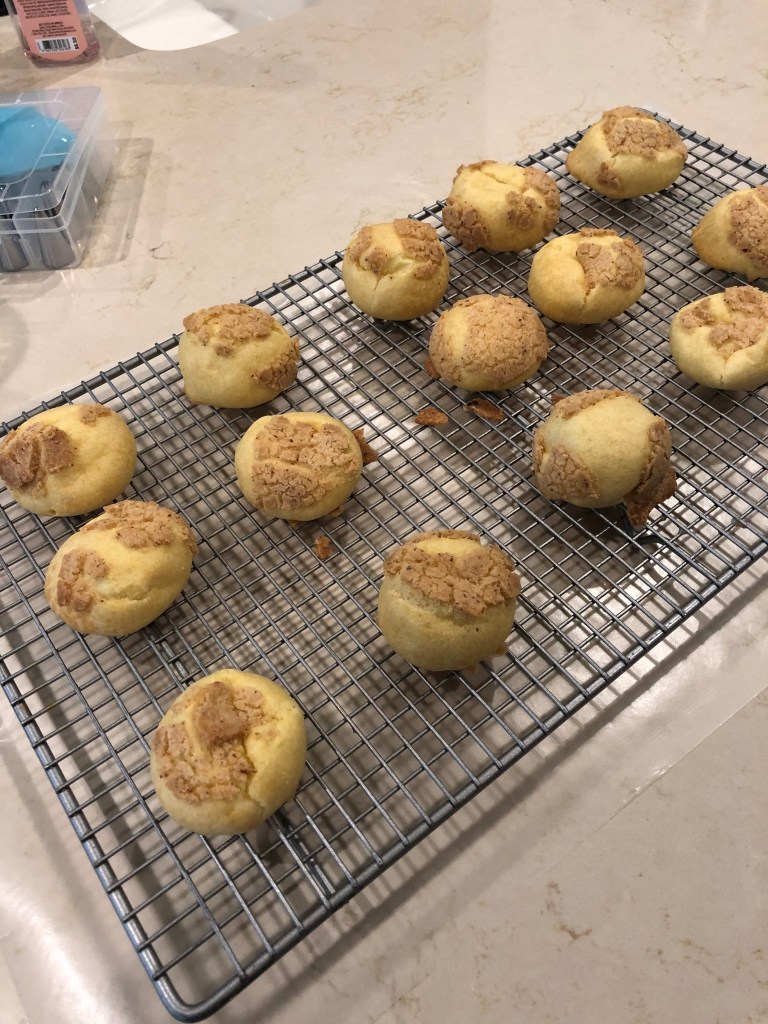
So, I take the puffs out of the oven and I’m pretty pleased! I think they rose the way they were supposed to? I will admit, there was a second batch that was slightly bigger and they collapsed. Note to self, leave the bigger ones in a little longer than the smaller. Once these had cooled, and the pastry cream was also cool, I piped the cream into the puffs.
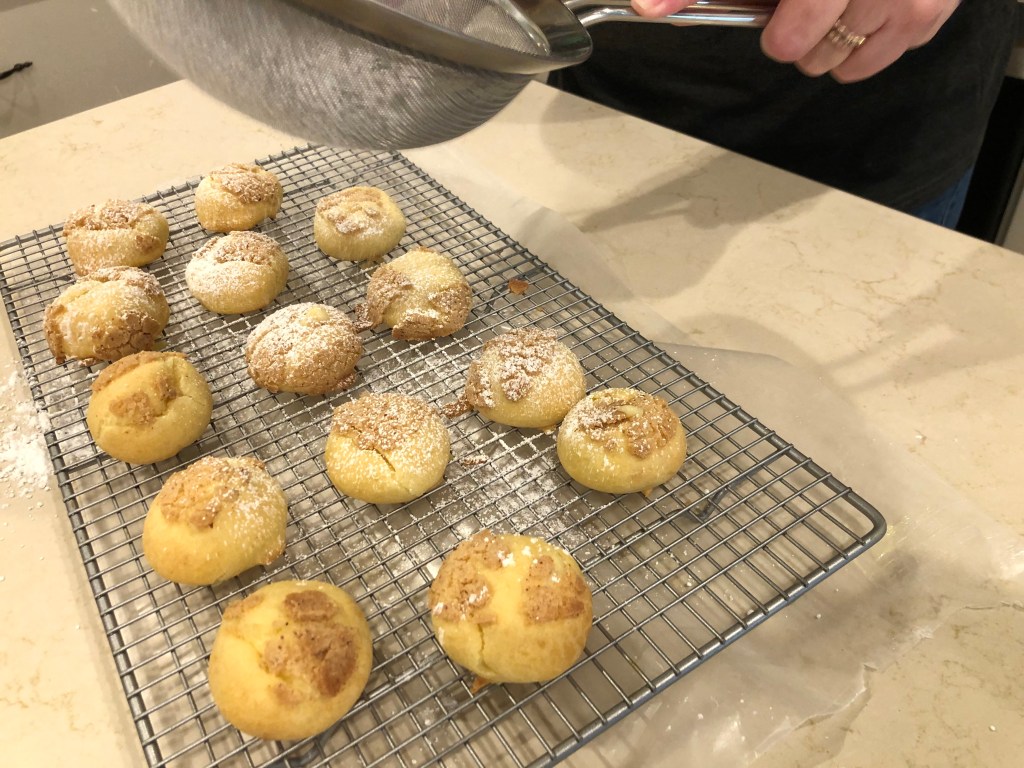
You can’t tell, but there are cream in those puffs! Here’s the problem. No one felt like eating them! We all had one to taste and then I put them in the fridge where they got kind of soft and doughy. Not good. So, be warned, they are really serious about that time in the fridge. No more than one hour, otherwise all of that hard work will go to waste.
I worked so hard, over two weekends on these, and I have to admit, I was disappointed! I think I had profiteroles in my head and the cream just didn’t do it for me. I’d much rather of had ice cream! LOL.
Would I make these again? Not even for a dinner party. It took way too long, had to many moving parts and the shelf life is too small. I’m glad I did it the one time, but it’s not happening again!
It’s confession time. After I finished making scones I read ahead to the next chapter’s first recipe, took a look at the list of ingredients and skipped to the next recipe. It was the Chocolate, Praline, and Cocoa Nib Tart where I would need to spend almost $130 to make. I just couldn’t see buying all of those ingredients, spending that money just to test myself. Instead, I decided to make the Caramel Nut Tart. I’ll buy those ingredients slowly over time and come back to that some other time. I’ll still try my hand at Pâte Sucrée, a delicious dough, and learn how to make caramel. The new recipe will still stretch my wings.
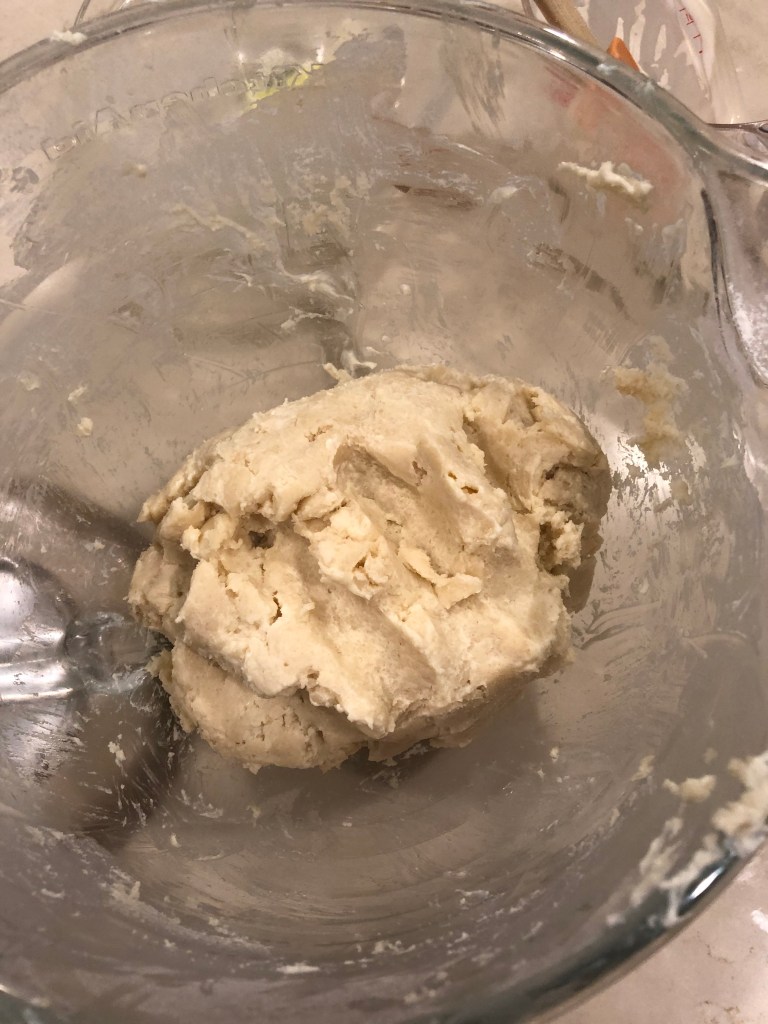
So, how’d it go? The Pâte Sucrée was delish, and pretty simple to make. The dough was sweet, made with a combination of flour, powdered sugar, butter, and almond flour. AND I get to pommade butter again! I love this pommade technique. For those of you who may be reading my baking journey for the first time if you slightly warm the butter in your mixing bowl over an open flame and then whip the butter it turns into this really creamy mayonnaise consistency. Pretty cool!
In addition to the pommade technique above, I’ve learned that you sift EVERYthing when following a Bouchon Bakery recipe. So, I sifted, cracked and egg, mixed, etc. I got this really yummy dough. I did notice my almond flour was slightly different than what must’ve been used by Bouchon Bakery because my dough was a little nuttier looking with these brown specks. Tastes great though, so no worries! I’m going with the flow. Now, Bouchon wants me to use a Fraiser technique to mix the dough, so I wash off the countertop and drop my dough straight onto the counter, no flour and by hand push my hand into the dough to blend the dough into these little waves.
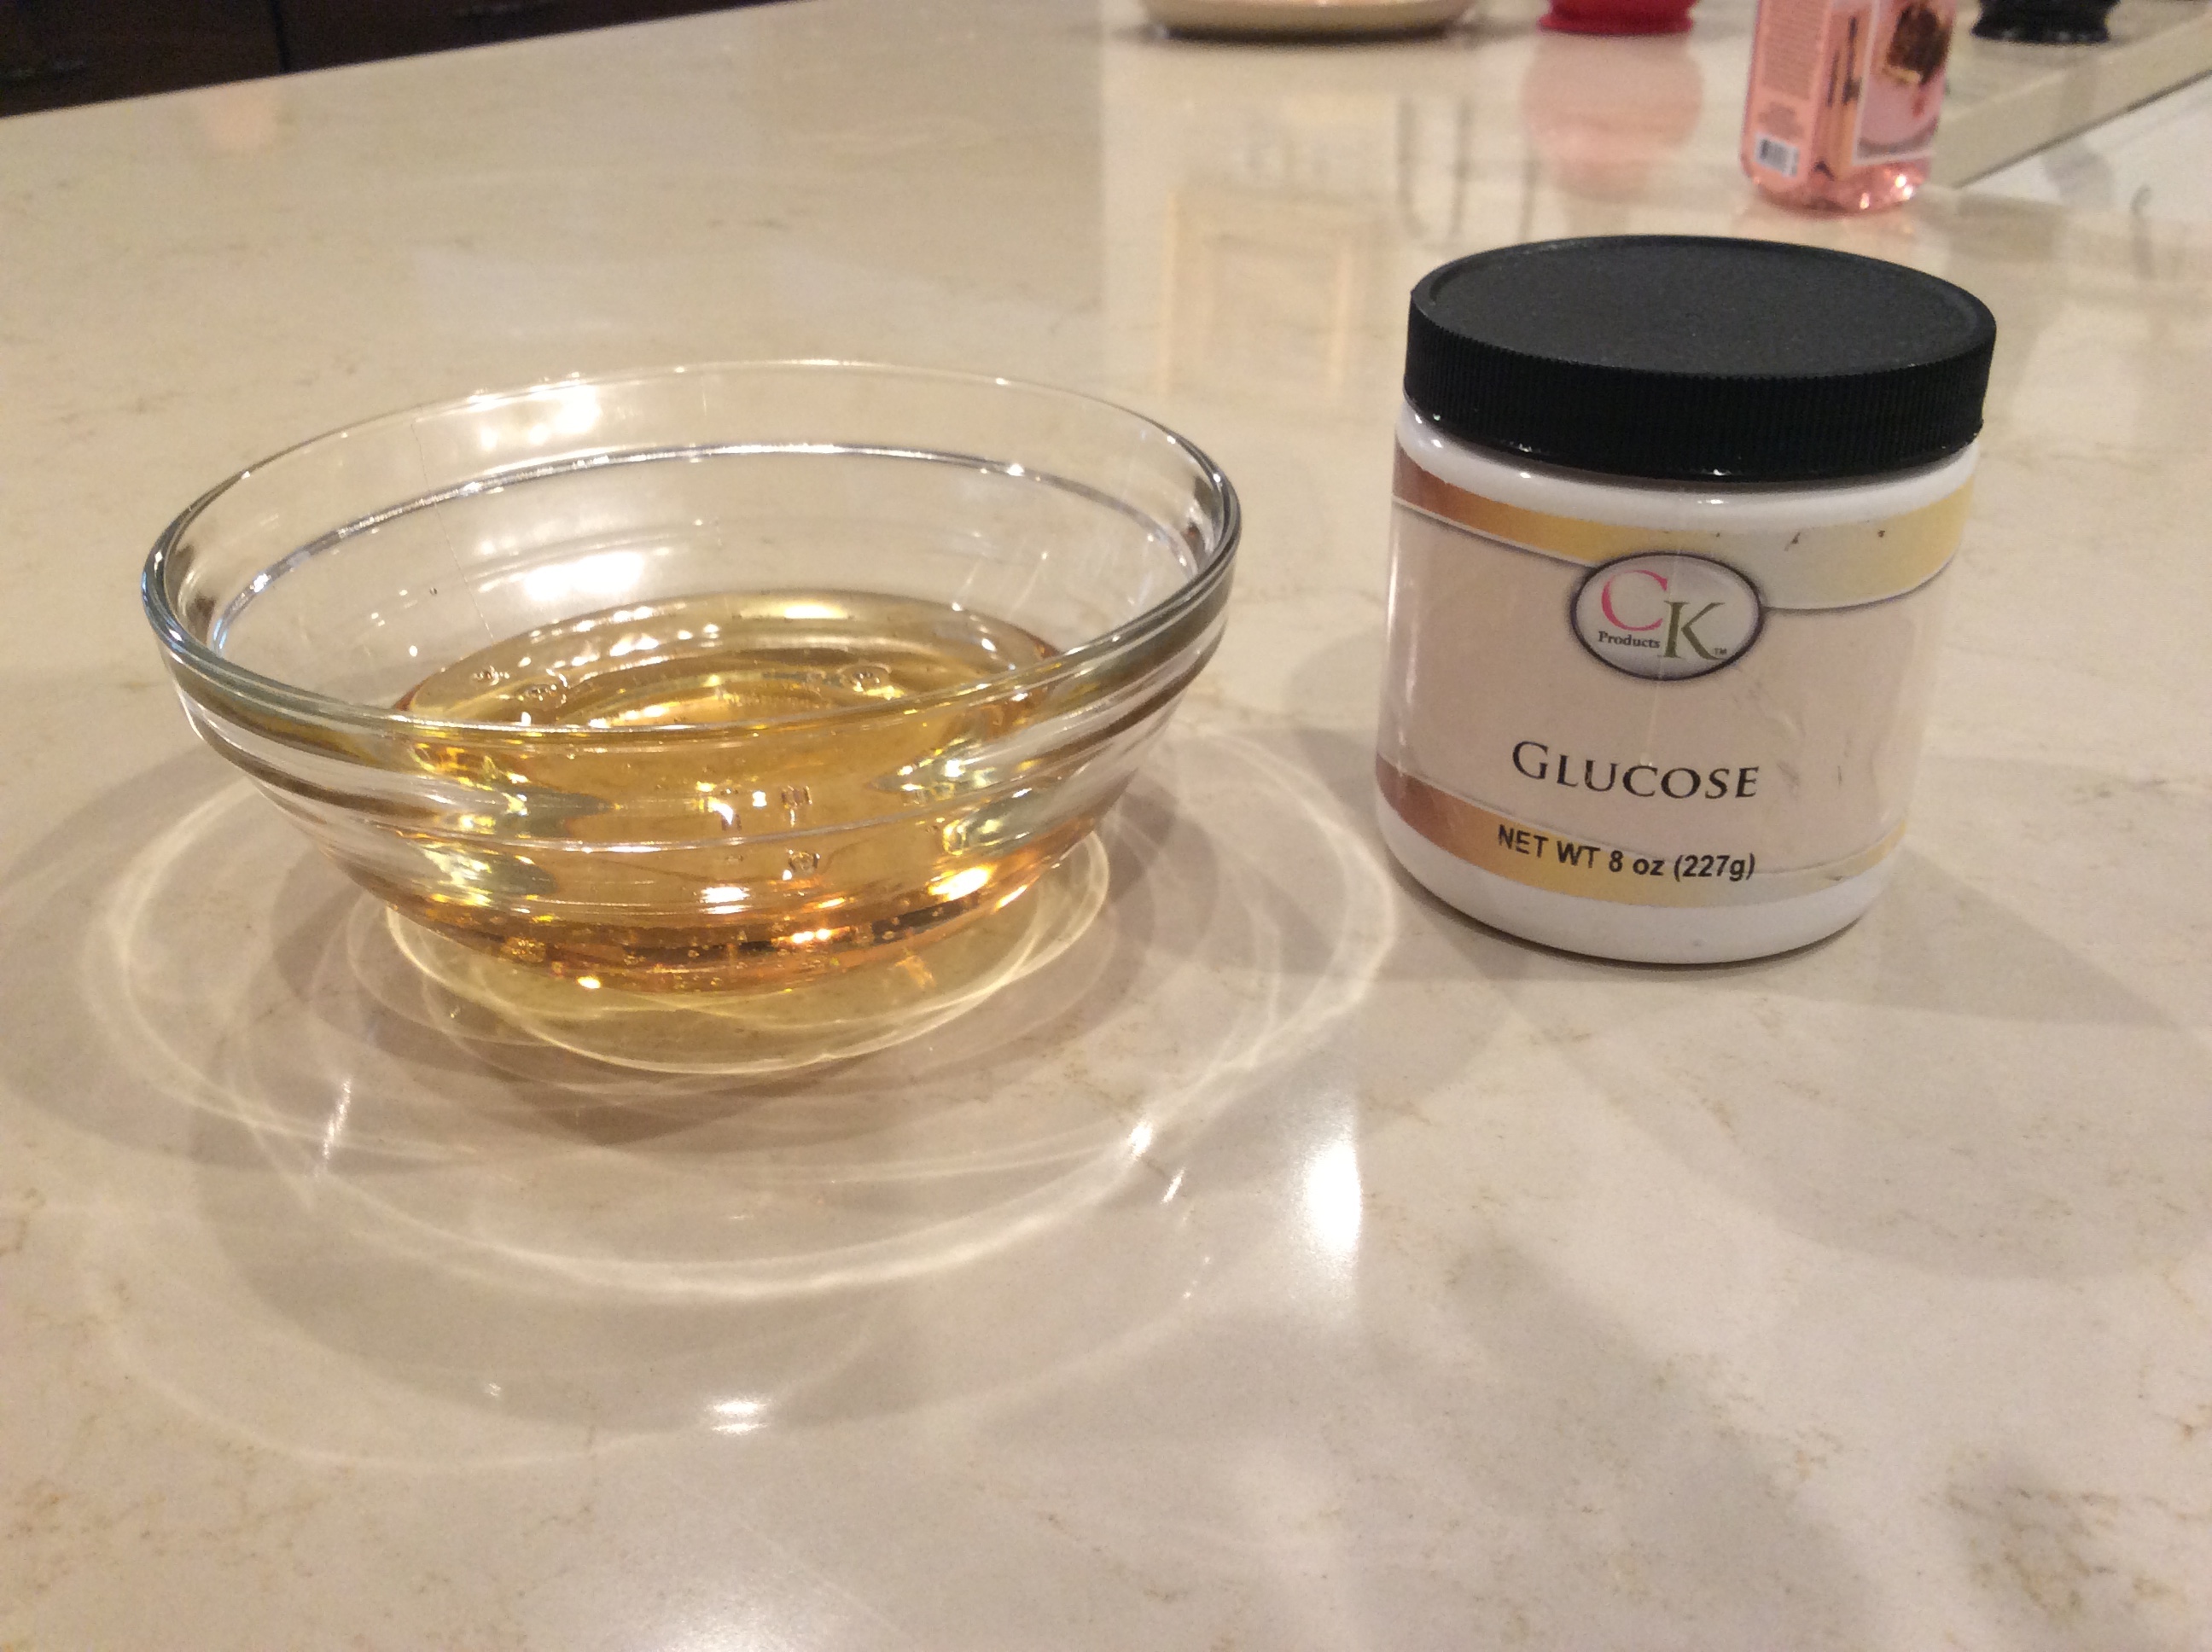
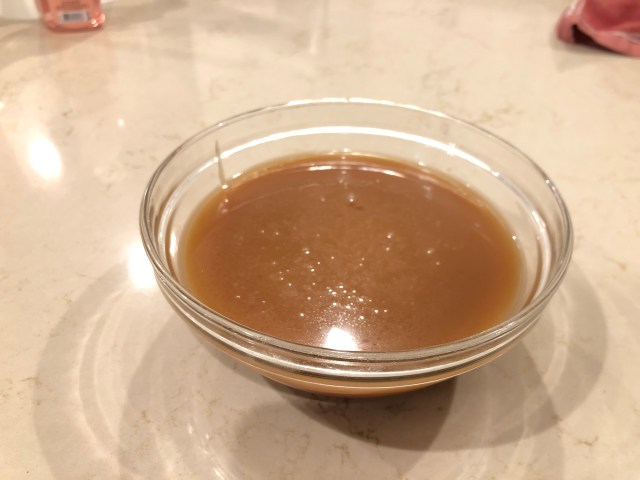
Once it was blended I wrapped it in cellophane and stuck it into the fridge to chill out for a couple of hours. Onto the caramel jam! Don’t let that word jam fool you, it’s just a fancy way of saying sauce. Maybe sauce is too plebian? Not sure, but from here on out I will be saying caramel jam. Doesn’t it make me sound smarter? I think so!
For my first purchase (outside the normal flour, sugar, etc.) I had to research and purchase glucose. Now, I know that glucose is sugar, but I wasn’t sure until I got the jar, why I couldn’t just brown some sugar as I’ve done in the past. Actually, I’m still not really sure. The glucose was really super thick and I think must be used in order to make the sauce thicker? It’s just a guess because after I prepared everything, it turned out the same as any other caramel “jam” I’ve ever made, although it was a lot silkier.
Luckily, I had my candy thermometer from some other project and was able to put it to good use in getting my jam to the correct temp of 350º.
Two hours have since gone by and I can remove my dough from the refrigerator. For the first time, as instructed, I’m going to try rolling out my dough between sheets of waxed paper, without any flour. Apparently adding flour during the rolling process messes with the flour to butter ratio or something and makes for too dry a dough. Surprisingly, or not, really, because all of these techniques I’ve learned and used so far are really working. I easily rolled out my dough using the waxed paper, measured it to 11″ across and what looked to be about the right depth and laid it into my fluted tart pan (that I had to purchase for this recipe).
Doesn’t that look nice? Admittedly, I think the dough ended up being a little too thick, but lesson learned! LOL. There was a bit of a lengthy cooking process for this dough, so if you’re going to prepare this one yourself, put aside about 60 minutes of turning the pan around so all sides cook evenly.
Once the crust is cooked, you fill the tart with nuts, cover it with caramel and voilá! You have your Caramel Nut tart. Confession time #2. Reading the instructions is super important, and if you have a bad memory like me? Read them again as you are doing everything. I was supposed to pour “most” of the caramel jam onto the nuts so it looked as if they were layered into a nutty caramel and you could still see the nuts clearly. I did not do this. I poured all of the caramel jam into the tart so you couldn’t actually see any nuts at all. So, while it didn’t look great, it actually tasted devine. Although a bit sweet. I added vanilla ice cream to my piece to counter that overabundance of caramel. It was quite nice!
Would I make this one again? For the first time, I’m going to say no. Glucose is kind of a weird ingredient and nuts are not really my thing. The crust though was fabulous and I’d definitely make that one again. In fact, I have the other half of this dough in my freezer and will use it again sooner rather than later!
Cost of tart pan $14.99 and cost of Glucose $13.99. A lot cheaper than the $130 the chocolate tart would’ve cost but I think I’d have liked to eat chocolate more than the Caramel Nut tart I did bake.
What did I enjoy? Pommading again! Man, I love that technique and the outcome is light and wonderful, even after mixing in all of the sugars and flours. I also enjoyed learning to roll out the dough between the waxed paper sheets. It’s really easy to turn and make a round dough!
What didn’t I enjoy? Caramel overload after eating the tart. That’s totally my fault though, and truthfully? It still tasted good and the family enjoyed this bake.
This week in my Bouchon Bakery challenge I skipped from the cookie chapter to the Scones and Muffins chapter. When I took a look at the first recipe I danced a little jig. Score! A plain scone. I’ve made scones before and even though a couple of ingredients were new to me I thought this was a recipe I could handle.
I made up my grocery list and headed off to the store. The Plain Scone recipe called for Creme Fraiche and I headed to the dairy department not knowing exactly what it was but knew it was a dairy. LOL. I looked by the sour cream…nope, by the heavy cream….nope, by the cream cheese….nope. Then I re-looked in all of those places again! Finally I found someone who worked there and they pointed me to the gourmet cheese section. Huh! This was the brand available at Kroger but I’m sure there are many more.
Now that I had the ingredients I was ready to bake! I got out my brand new scale, started to measure and realized I did not purchase a scale that went down to a .10. The scale rounds up on the number. How did I do that again? Aargh. Oh well, I need to suck it up and just carefully estimate any measurements. The measuring commenced!
When I put it all in my KitchenAid mixer to blend in the butter I paid special attention to how long they said it would take for the butter to mix in. Low and behold, the timing works! At 3 minutes the butter was incorporated without me having to blend in any chunks by hand. Note to self…when the recipe calls for the mixer to mix for a certain amount of time, that number is pretty spot on. Usually I don’t have the patience to wait three minutes for something to mix, give up and stop a lot earlier. Hmm. Patience. Not something I can purchase, but maybe something I can learn. I got out my cell phone and turned on the stopwatch function determined to start timing everything.
At this point I met my challenge.
When I read the prologue of this cookbook it says to read the instructions of your recipe all the way through before you start baking. That way you’ll know what to do and at what time to do it. Repeat. READ THE INSTRUCTIONS ALL THE WAY THROUGH. This way, you don’t leave things out, or miss why you are mixing something at a certain time. For example when it says to pour the cream into the dry mixture, and I’m doing that, I should read further to incorporate the Creme Fraiche at that time as well. Yeah, I waited a little too long. I think I over mixed the scones a bit and because I added that Creme Fraiche a little late, the dough is slightly wet.
Oh well, it’s too late to change the recipe and I’m moving on to the next item. Cooling my dough. Funny enough, this recipe requires more time for refrigerating and freezing than it does in actually mixing the ingredients together. For someone like me who likes instant gratification, this stop and start routine was tough! I patted the dough into the expected large rectangle, put it in the fridge and waited two hours.
After the two hour cool down I try my hand at cutting the dough into individual scones. Looking at the photo, you can see I am triangularly challenged. They may not all be the same size but they will all taste alike! Next, they go into the freezer for at least 2 more hours. Start and stop. I wish they’d tell you why? I can only guess. Maybe because this is a restaurant cookbook they make these individually to sell or is it that the freezing process does something to the butter so that it cooks better and maybe holds its shape? Who knows! I will say that not having to cook every single scone is pretty handy. So I didn’t. LOL.
Other than challenging my patience this scone recipe was pretty easy! In addition to the plain scone recipe I noticed another which used the same Plain Scone recipe but added in a honey cinnamon paste to the dough, so I whipped up those as well and actually did better with the dough the second time around.
The Cinnamon honey cubes were made from a combination of flour, butter, sugar, cinnamon, and honey. You freeze the mixture and then cut it into little cubes to add into the dough. Other than my cubes maybe being a little too large the end result was a success!
I’ll admit that the first one with the whipped cream and strawberry jam looks a lot better than the second, but my second attempt at that mix actually had the scone rise a little bit more and it was tasty too!
This week I knocked out two recipe’s in one day of baking. Now, I’m not going to get a big head because I pretty much plowed through these scone recipe’s. There are bigger challenges ahead!
It’s no secret that I love to read, after all my blog is called The Reading Chick. However, I also have another love, and that is baking. I also like to cook, but I LOVE to bake. For every holiday you can find me in the kitchen trying out a recipe that I’ve found on Pinterest. All of those pictures are colorful and make everything look so good that Pinterest has stolen away my attention from some cookbooks that I own but have never used.
I have been mulling over an idea to combine this love of reading with my love for baking. I am going to stretch my mind and my baking skills by taking on a cookbook that just may be beyond my skills. But the pictures are gorgeous and the bakery the cookbook comes from is quite famous. My challenge to myself is to bake a recipe a week and write about my success and failures on my blog, The Reading Chick, but these posts will be called The Reading Chick also Bakes with that weeks choice of recipe.
The cookbook that I will be tackling is…
Thomas Keller | Bouchon Bakery came out in 2012 and that year it was on all of the bestseller lists. I asked for it for Christmas and my sister very nicely gave it to me. I eagerly opened the book and very quickly deflated because the recipe’s called for me to measure ingredients using a scale and use some items I didn’t own in my own kitchen. I looked at all the pictures and quietly put it back on my shelf with all of my other cookbooks where it has sat gathering dust.
In the years since, I’ve been baking more and expanding my horizons, this past Christmas I actually baked a cake by measuring out the ingredients on a scale and my family declared it the best cake I’d ever baked. After that success I took this cookbook back off my shelf and cracked open the pages. I read the recommendation and reasons why you get better results by measuring. “When you measure by volume, the weight of an ingredient can differ each time.”* Meaning it doesn’t matter if you spooned the flour, packed it into the cup a little too much, etc. A gram is a gram. Maybe this was why my cake was so good this year? That aha! moment took away a little of the scariness in doing something that I had never done before and the idea for cooking one recipe a week and blogging about it was born.
I know this is not a new concept. There are bloggers who’ve become quite renowned for cooking all of the recipe’s in a cookbook. Even have had a movie made from one blogger’s experience in Julie and Julia, but I’m going into this to better my own skills, talk about what was challenging, what worked, and what the outcome of that week’s bake tasted like. In essence, doing this is a lot more for me than for you. LOL.
I need to decide how to get started. This is obviously going to cost a little bit in ingredients, specialty pans, etc. so do I want that cost to be spread out a little bit? You bet! In order to cut down on costs I won’t completing a chapter at a time. I will rotate chapters, but I will go in order of the next recipe to be baked in that chapter. That way I get to cook a variety and not get burned out before the cookie chapter is done. Speaking of cookies, that is the first chapter in this book and the first thing I will be baking.
I hope you’ll indulge me on veering slightly off track to take on this challenge and talk about it with you. Please feel free to bake along with me, but if you only want to read about, great! You can take it all in and feel good about the fact that between the two of us I’m the only one that can gain weight!


You must be logged in to post a comment.